Woven Star Craft Tutorial
- Jennifer Long

- Nov 4, 2023
- 3 min read
Updated: Apr 15, 2024
Are you ready to start creating some fun and easy CRAFT Woven Stars with your favorite fabrics this month! We are starting to get excited for Christmas already, so we are making ours in Silent Night fabric designs by me for Riley Blake Designs! We are SURE you'll quickly become addicted to making them as we did!

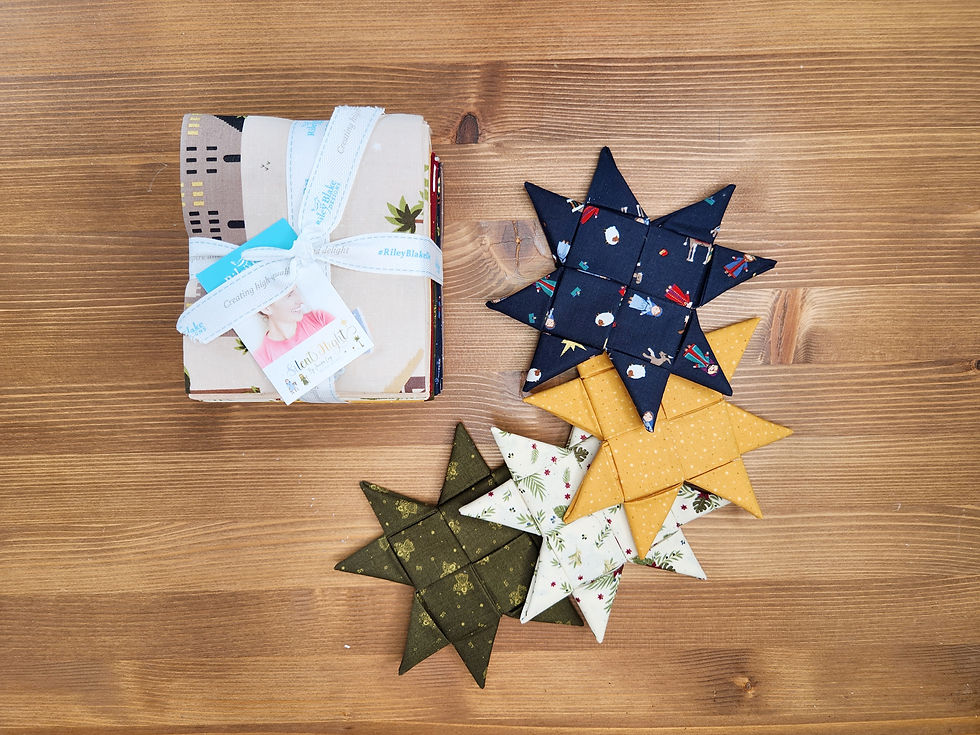
What will you use your woven stars for? Table toppers, tree ornaments, place setting, gift tags, bouquet arrangements and so much more! Don't forget to share your makes by tagging @sewastory_jenniferlong and using the hashtag #sewastory.

Join our Maker's Club today so you can unlock the full tutorial below and begin creating today!

Let's get creative! Just gather the supplies below, then download the pattern/files. Don't forget to share your project on social media using the hashtag #BSImakersclub and tag @sewastory_jenniferlong.

Tools
Woven Star Templates (Maker's Club Members)
Rotary Cutter
Quilting Ruler
Self-Healing Mat
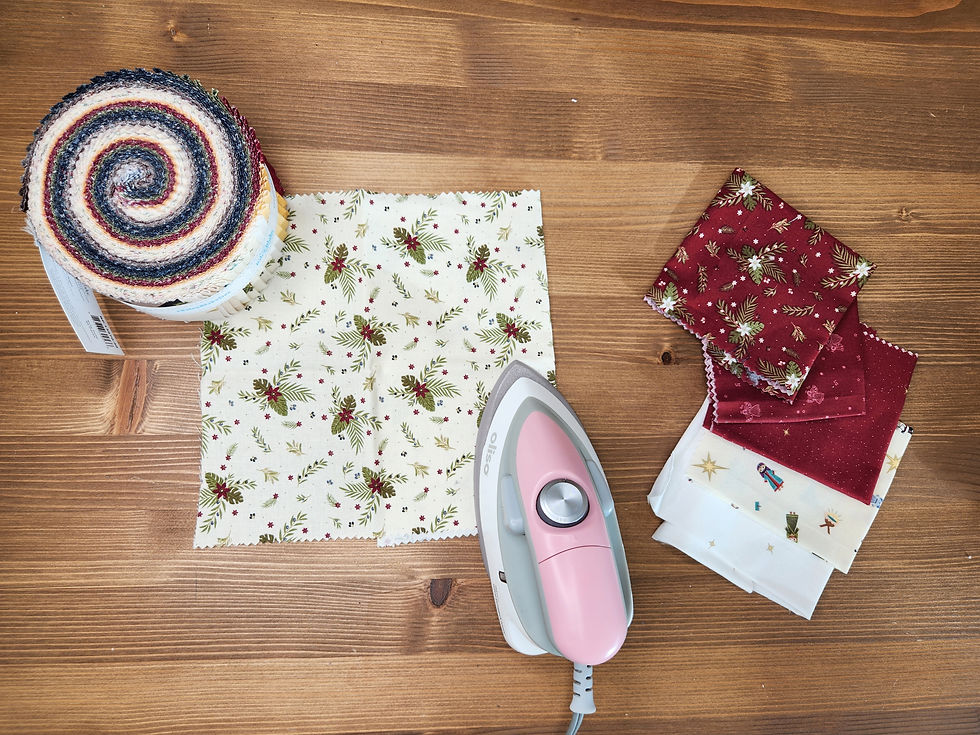
Iron and Wool Mat
Scissors
Materials
3/8 yard of your favorite cotton fabric for 1 star (we used some our favorites from the Silent Night collection)
Embellishments


If you haven’t already, become a Sew A Story - Maker's Club Annual Member. This gives you access to our entire growing, Maker's Club library of downloads! Including Quilt - Story Block of the Month patterns, Doll Patterns and Accessories (Sewing and Machine Embroidery versions), PDF templates, SVG cut files and more!
Member's can simply login at the top of the site to unlock the tutorial below.
1. Using Heat n Bond Light-weight fusible interfacing, place the rough side of the Fusible Interfacing onto the back (wrong side) of material to be bonded. Cover with a lightweight, dry pressing cloth. Press and hold iron with medium pressure for 10-15 seconds. Repeat by lifting iron to a new area and pressing, slightly overlapping the previous area until the entire surface is bonded.

2. Cut 2 - 6" x WOF strips.
Subcut to 4 - 6" x 21" strips

3. Press each strip in half lengthwise.

4. Open each strip and fold lower section up to the crease line (the middle) and press. Repeat with the upper section.
5. Fold top and bottom in half to the original pressed center. Press. Will measure 1 1/2" x 21".

6. Fold each strip in half lengthwise.

7. Slightly weave each strip as seen in the picture. Keep the open folds to the center.

8. Cinch down strips to the center.
9. Start at the top by folding the strips down. Continue with each strip going in a clockwise direction.
The fourth strip will be woven under the first strip.
Cinch the strips in for a snug center.
10. Start at the top by folding the strips to form half of the star point. Flip the star over and fold the second half of the star point. Fold sides of star point in together.
Tuck remaining strip under the woven section below.
Trim off excess fabric.
11. Continue making each point the same way.

12. And there you have it. A 6" Scandinavian Star!
The next step is optional but recommended.
Put a dot of permanent fabric glue under each of the woven sections that the fabric strip was tucked into.
We are here to help you explore your creativity with weekly inspiration, downloadable patterns, cut files and printable templates that make your craft life easier. We believe in the power of creativity to nurture the soul and to empower the next generation. Our designs are created with simplicity in mind and we always strive to provide you with the highest quality DIYs. Share what you’ve been up to with our Annual membership online community, or on social media by using the hashtag #BSImakersclub — your creativity is our biggest inspiration!
Membership gains you access to our full library of DIY projects complete with pattern downloads, tutorials, templates, embroidery files, SVG cut files and more! Head over to our membership page to see a full list of benefits. And be sure to follow us on Instagram, Facebook, and YouTube. We look forward to making this the most creative year of your life! Happy creating! ~ Jennifer Long








































Comments